Friday 9 November 2012

Rag Rugs in Landscape Magazine

Rowantree featured in the Oct/Nov edition of the new Landscape magazine on pg64 with a great article on Rag Rug making.


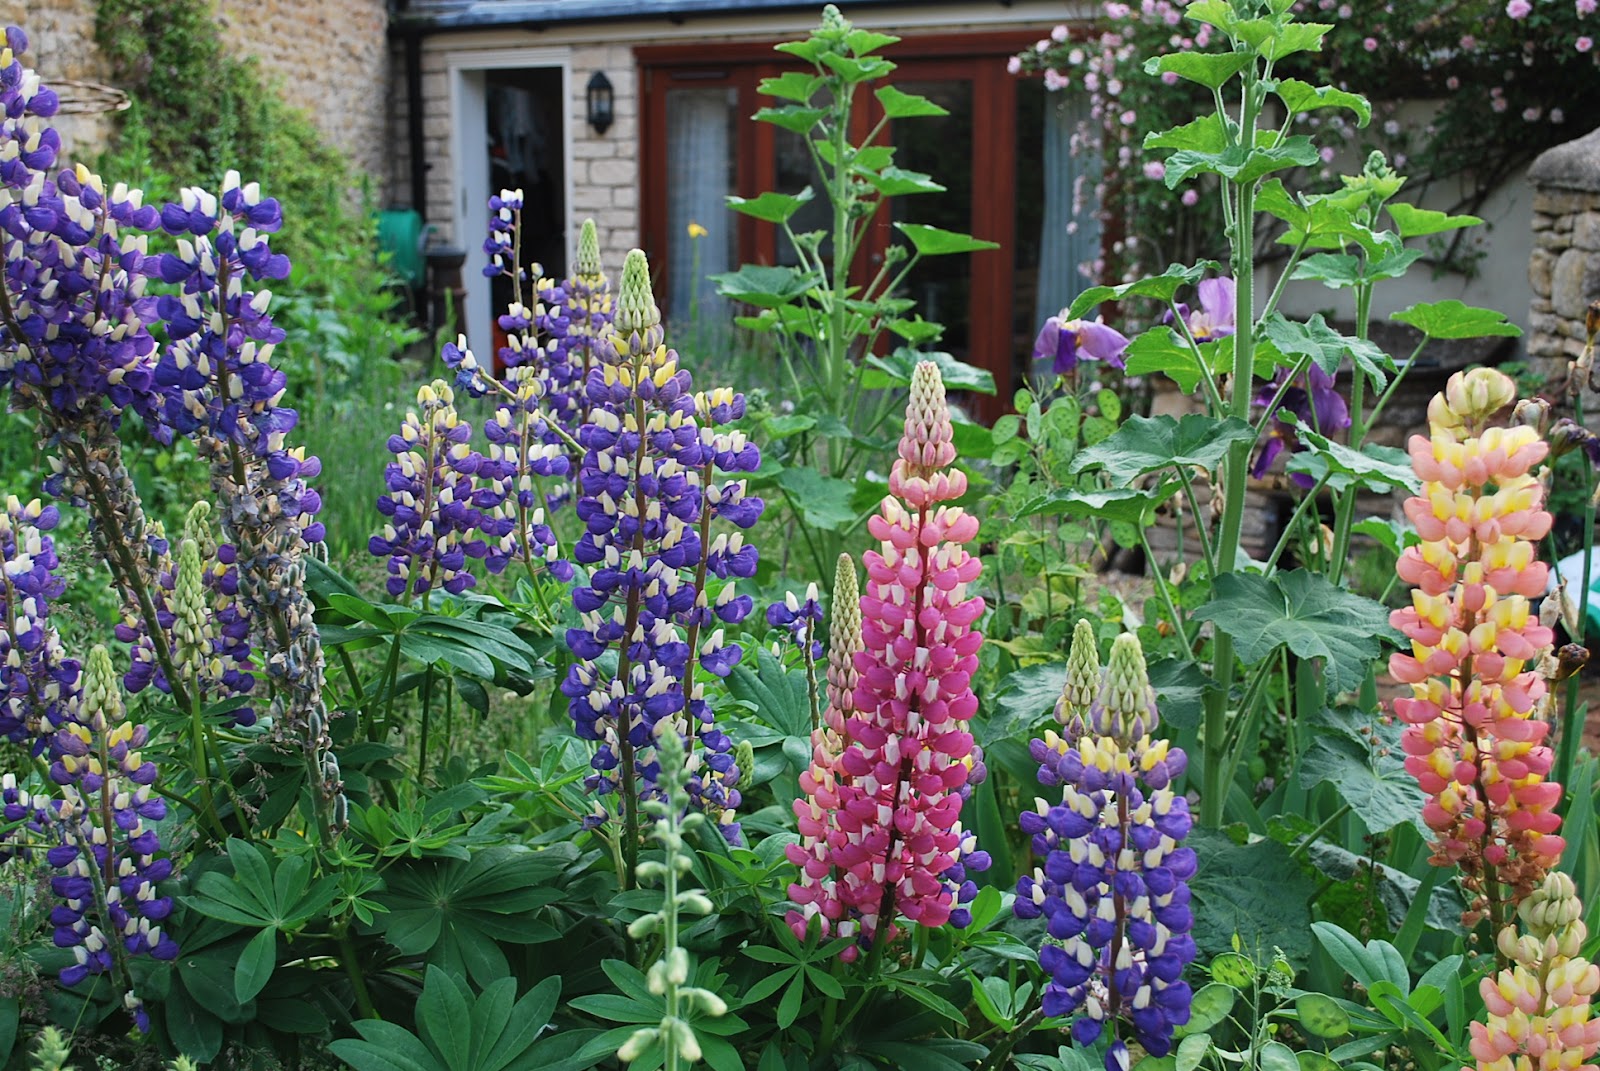
For Make a Rag Rug instructions click here

Our next Rag Rug Workshop is on this coming Saturday 10/11/2012.

Wednesday 19 September 2012

The garden studio!


We are now in to our second working week in The Rowantree Garden Studio and the sun has been shining nearly every day! The garden is still looking fantastic! Even though we haven't got the colour we had in June and July, it still looks vibrant!


The students are all very happy with the new studio, some remember working here a few years ago and love the new improved space. It feels even more relaxed and is proving to be a very creative environment to learn.


 The garden is full of colour and inspiration for our creative projects and is also home to my little chicken, who seems to be enjoying the coming and goings up and down the garden path!

Tuesday 21 August 2012

Festival of Quilts at the NEC


 I am still buzzing with excitement from being surrounded by incredible textiles and amazingly creative people for four whole days at the NEC.  I had been working for Coats and Cotton Patch and am now calm enough to tell you about some of the amazing people i have met and the fabulous quilts i have seen.


Two of Kaffe Fassett's stunning quilts

If you have never been, then i strongly suggest that you go next year. This is my third year and each year surpasses the previous years. I am also beginning to remember faces and names of women that i have only ever met at the Festival, some are  German, there are Danish, French, Portugese in fact from all over the world - well it is an international festival!! These wonderful, creative ladies come every year to exhibit their work and visit the show, some are there every day, for four days. One particularly lovely german lady, wore a different skirt and had a matching bag from two of Kaffe's fabrics on the first two days of the show. She looked amazing!!
On the Friday evening we attended the Designers Dinner and were delighted as Kaffe Fassett and Brandon Mably introduced all the designers and entertained us with stories about there quilts, fabric designs and photography locations, later on Kaffe was obviously delighted to answer questions from the audience.


The very lovely Nel Whatmore


I first met Nel three years ago at the Festival of Quilts and also meet up with her at the Knitting and Stitching show at Ally Pally and Harrogate. What a lovely calm and amazingly talented designer.
Nel uses pastels on sand paper to achieve a unique velevty finish to her work, which she uses as inspiration for her textile designs 
She has had three collections now for Westminster fibres - Happy Go Lucky, Sleeping Beauty and Katharines Wheel. I love her latest collection, fantastic colourways and a beautiful mix of small and large prints.


Amy Butlers's beautiful collections


 Which ever collection of Amy's you are looking at, it is always very difficult to choose a favourite as they are all delightful!
Her collection of bag designs are great! Smart, very functional projects to make yourself.

There were quilts of every type, shape , construction but the ones that took my breath away were those of pauline Burbige, a textile artist, Designer and Maker from the north of England. Incredible stitching by hand and machine, then on some areas she had coloured the fabric. So many different techniques, all perfect in every way!


The Fabulous Tula Pink!


Maybe i have left the best to last! Tula you are an absolute inspiration and very enjoyable company! We all enjoyed talking and laughing with you. Your fabrics are incredible and your quilts even more amazing!! Please come back next year!!!


Why not try making a small Hand Patchwork project yourself at the Rowantree Workshop on the Thursday the 13 September for a first taster of Patchwork and Quilting!
Look on our website for details of this and all our other workshops and classes.


Thursday 28 June 2012

Help from the workroom! - Remember to look after your machine!


·        Always ensure that you have the correct needle for the fabric and thread you are using.

·        Change your needle after every project, a blunt needle can put extra pressure on your machine if using heavy fabrics and will push lint in to your machine with every stitch.

·        Before packing your machine away, or once a week if your machine has a lot of use. Remove the bobbin case and remove any fluff and lint with a small brush or a cotton bud and use a vacuum nozzle to suck up the fluff or a can of air to blow fluff away.

·        Oil your machine if required. Not all new machines need oiling. Take a look at your maintenance guide and remember to place a piece of cloth under the pressure foot to mop up any excess oil while it is not in use.

·        Cover your machine when not in use. They are dust magnets!

Friday 22 June 2012

Garden Inspiration


With all the extra watering the garden has had this year, it is looking fabulous!! So tall, vibrant and with the late start it seems that everything is flowering much more closely!


All of the Irises came out together, what a wonderful sight, and instead of the normal steady progression with small breathing spaces for tidying up the borders. The Lupins, Foxgloves and Roses have joined them.


My garden usually changes colour gradually from early Spring, from Snowdrops, Daphne Odera and White Honestey, Bluebells and Forget me Nots, Irises then my beautiful blush pink Roses, Cecille Brunner, New dawn and wonderful Margaret Merrill.


All of this stunning beauty is great inspiration for Embroideries, Appliques and Quilts. Think of Kaffe Fassett and Jane Brocket's amazing vibrant quilts, bursting with colour themes taken from flowers and gardens. Imagine turning your photgraphs, sketches and paintings in to French Nots, Satin and Laisy Daisy stitch.


Start looking at your garden for visual inspiration, keep your camera or a sketch book handy it won't be there for long but it will be back again next year!

Friday 25 May 2012

Help from the workroom - Celebration Bunting!


Not just for Jubilee Celebrations and Parties. Bunting will cheer up any corner of your home or garden, all year round.
It doesn't have to be triangular in shape either, Bunting comes in all shapes, sizes, textures. Knitted, appliqued, embroidered and i recently saw some beautiful crotched granny squares blowing in the wind.
I like to see bunting made from recycled fabrics and trimmings, it looks much more appealing when the fabrics has been through the washing machine regularly. It floats on the breeze rather than hanging stifly to attention, with neatly pinked edges.
Edges are important! Does it really matter if they fray? Those little extra bits add more charm and you can always tidy them up with a sharp pair of scissors if you find its too much!. Definately not worth sewing two halves right sides together, turning through and pressing before sewing on to the tape!!
Make your bunting fun, quick and 'more' is definately better!!


HOW TO MAKE YOUR OWN BUNTING

You will need:

Lots of fabric It will take more than you think, you can recycle old clothes, curtains, anything!!!

1" wide cotton tape, or ribbon -  as much as you need.

Scissors and or pinking shears.

A sewing machine.

Thread.

A template - fold a piece of A4 paper in half down its length. Decide on half the finished width and length and draw a line, cut both halves in one go to make a symetrical triangle.

Choose a theme or a colour.

Time! Enjoy an afternoon with friends making bunting together with plenty of tea and cake!!!


Method:

Using your paper template and keeping your theme or plan in mind cut out all your triangles first.


Arrange them in the correct sequence to assemble them, this will save time later.


Thread your machine, making sure there is plenty of thread on the bobbin!!

Mark where the beginning of each triangle will start on the tape, do this with a pencil mark or with pins. decide how much of a gap to put between the triangles.


Fold the tape or ribbon in half and stitch 30cm without any bunting attached.

Start sewing your bunting in, placing the corner of each triangle on the mark and folding the tape exactly in half enclosing the top edge of the triangle.


Enjoy your bunting along with your family and friends!!!


Tuesday 1 May 2012

Help from the Workroom - Casting on Cable Style!

Learning how to cast on using the Cable method will give you a beautiful firm rope edging whether you are a beginner or have been using another method for some time. It will not stretch and go 'baggy' and looks great with a rib, stocking or garter stitch.


The first step is to make a slip knot. I tend to hold the tail end of the yarn between my thumb and index finger and wrap the yarn twice around my first two fingers, crossing over the top of my fingers.

The next step is to pick up your knitting needle and place it under the lower of the two yarns.

Flip the needle to the other side so that the yarn crosses.

Remove your fingers and pull the loop on the needle until the knot tightens.

Holding the yarn attached to the ball, pull the needle and the slip knot will tighten. Pick up the other  needle and wrap the yarn around your fingers.

Holding the tail between your left thumb and index finger, place the needle behind the first stitch. Not into the first stitch, as this can create a loose, baggy stitch.

Wrap the yarn around the right hand needle, moving in a clockwise direction, under the needle, up and over the needle.

Bring the new loop through towards you and place the left hand needle into the loop from under the stitch. This gives a nice twist to the stitch.

Place the right hand needle behind the new stitch before you tighten the yarn. This will give you nice even stitches that are the correct tension. Repeat the previous four steps to cast on your required number of stitches.

As you can see this method of casting on gives a beautiful foundation to your knitting.