Showing posts with label Help from the Workroom. Show all posts

Tuesday, 1 May 2012

Help from the Workroom - Casting on Cable Style!

Learning how to cast on using the Cable method will give you a beautiful firm rope edging whether you are a beginner or have been using another method for some time. It will not stretch and go 'baggy' and looks great with a rib, stocking or garter stitch.


The first step is to make a slip knot. I tend to hold the tail end of the yarn between my thumb and index finger and wrap the yarn twice around my first two fingers, crossing over the top of my fingers.

The next step is to pick up your knitting needle and place it under the lower of the two yarns.

Flip the needle to the other side so that the yarn crosses.

Remove your fingers and pull the loop on the needle until the knot tightens.

Holding the yarn attached to the ball, pull the needle and the slip knot will tighten. Pick up the other  needle and wrap the yarn around your fingers.

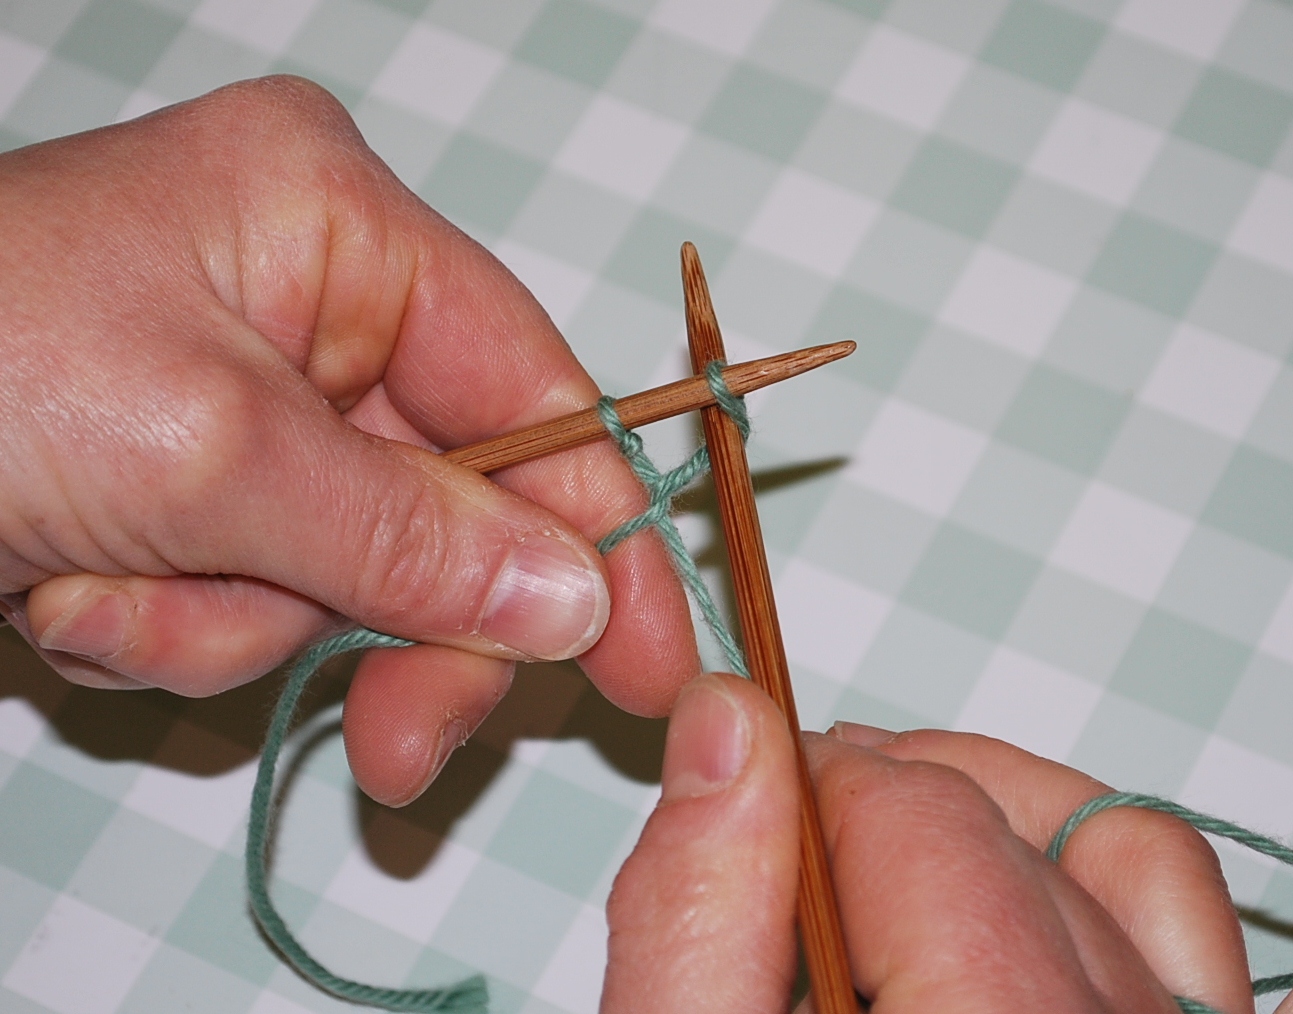
Holding the tail between your left thumb and index finger, place the needle behind the first stitch. Not into the first stitch, as this can create a loose, baggy stitch.

Wrap the yarn around the right hand needle, moving in a clockwise direction, under the needle, up and over the needle.

Bring the new loop through towards you and place the left hand needle into the loop from under the stitch. This gives a nice twist to the stitch.

Place the right hand needle behind the new stitch before you tighten the yarn. This will give you nice even stitches that are the correct tension. Repeat the previous four steps to cast on your required number of stitches.

As you can see this method of casting on gives a beautiful foundation to your knitting.


Monday, 26 March 2012

Help from the Workroom - Ladder Stitch

One of the most versatile stitches I have ever come across is Ladder Stitch. It has brought a smile to many a face, as the stitches disappear in to the seam. It is definately one you should have in your sewing box!

Ladder Stitch is great for invisibly repairing a split in a seam and is my stitch of choice for sewing the sides of curtains and blinds. Upholsterers use this stitch for re-closing seams and knitters use a similar stitch called Mattress Stitch when sewing up their knitting. The joy of this stitch is that it is worked from the right side of the fabric, so you can easily match any patterns or stripes.


Once you have the seam allowance pressed back and the folded edges are lying next to each other, take the needle with a knotted thread and slip the needle under the fold, bringing the needle out right on the edge of the fold.


Now holding the thread at a right angle to the fold, place the needle in to the opposite fold - to the right of the thread.


Repeat this each time you make a new stitch. Moving the thread across to the opposite fold, at a right angle each time.


As you become more experienced in knowing at what point to place the needle, you can refrain from holding the thread at a right angle. It is just to get you in to the habit of making the stitch slightly behind from where the thread appeared on the opposite fold. If you place the needle ahead of this point, the stitching will show.


This is a great stitch with a multitude of applications including sewing up seams in cushions and stitching up mitres on curtains. It is more versatile than a slip stitch and creates a stronger seam.

In the next 'Help from the Workroom' I will show you how to make a great little pin cushion that slips on to your wrist!